High risk turns

Here’s a great video by legend Wayne Handley, all about the use of rudder in turns. Although written primarily for ag pilots, the lessons he gives are equally applicable to pilots who often fly close to the ground – for example when stock counting or mustering – or even just the rest of us when we make that last turn at 500 feet on to final approach to land.

His explanation of what causes one wing to stall before the other is excellent, as are his instructions for spin avoidance and wing-drop recovery.

Although posted nearly 10 years ago, the lessons in the video are just as important today as they ever were! Great stuff from Wayne Handley and a quarter hour well-spent!

As usual, to view the Vimeo video, click on the picture or here: Smart Turn by Wayne Handley

What’s in a (Foxbat) colour?

In Australia, Aeroprakt aircraft come in a range of ‘standard’ colours – white, yellow, orange, red and blue. We are lucky in being able to paint our aircraft these vibrant colours – something denied to composite aircraft builders, where differential heating of colours can wreak havoc on the strength of glass fibre and other composites.

Throughout the world, colours can signify different things, often with cultural and other connotations beyond their simple names.

Here are a few thoughts to ponder around the ‘standard’ colours of our aircraft.

Blue – has long been considered a spiritual colour, ‘the vault of heaven’, the colour of the sky. But the use of blue as a colour is comparatively recent in human civilisation, as natural blue pigments are relatively rare in nature. Blue is sometimes called one of the primary colours, although the idea of blue, red and yellow as primary colours is a modern and Euro-centric concept. The ‘classical primaries’ – white, black, red and yellow – excluded blue, which only really arrived in Europe in the 13th century, as ultramarine. Ultramarine was incredibly expensive, being derived from the semi-precious stone, lapis lazuli, and at one time ultramarine was even more valuable than gold. In Australia, blue Foxbats make up about 5% of the fleet.

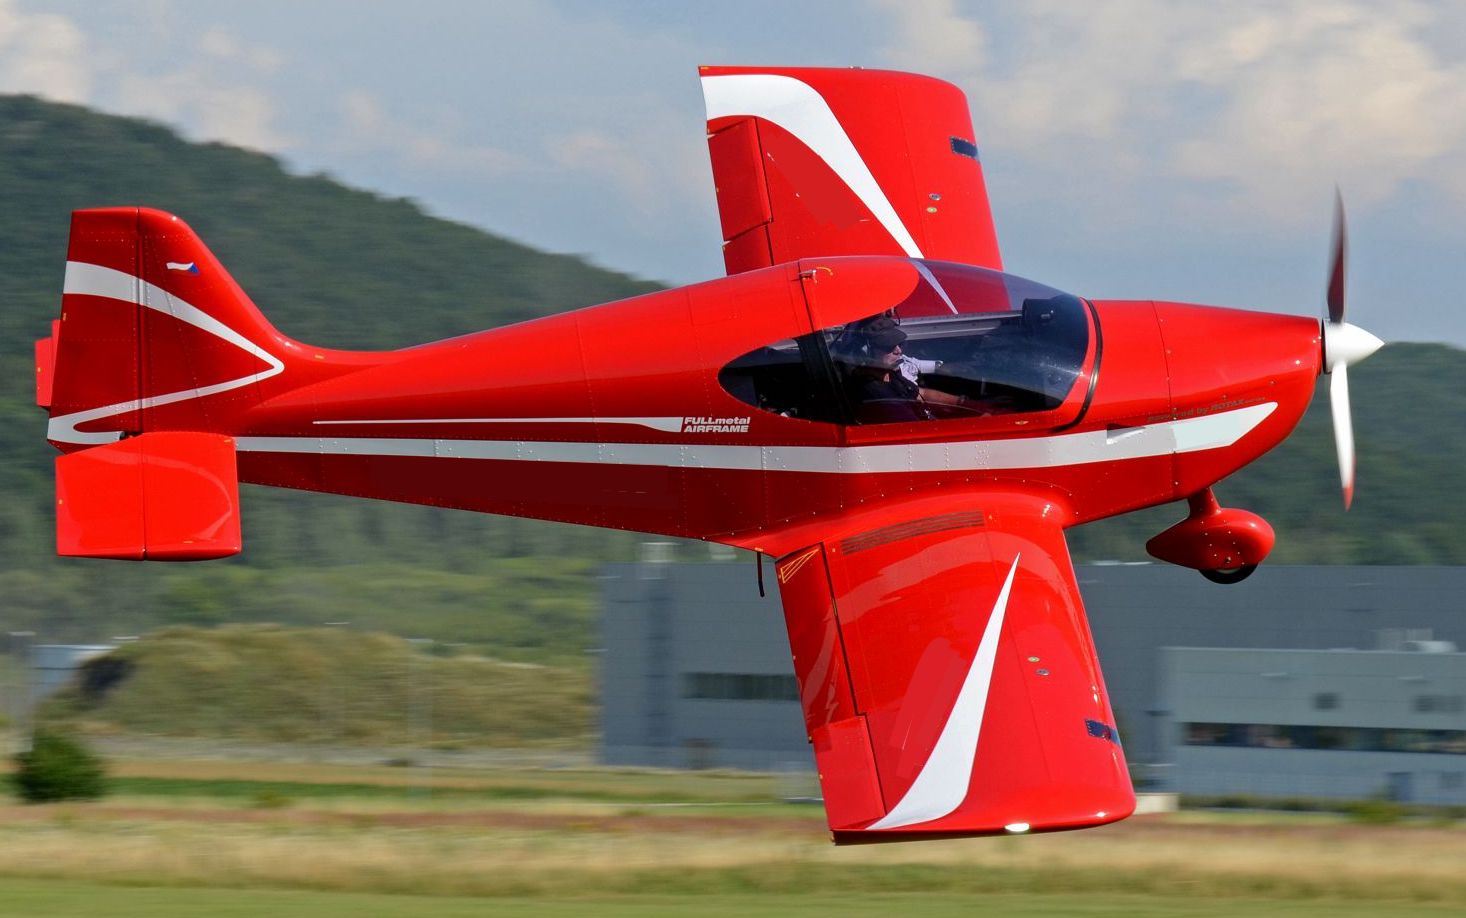
Red – has been historically associated with aggression and courage. Not for nothing did the soldiers and commanders of the Roman empire wear red. But red can also signify love and fertility. In many countries brides wear red and the colour also signifies good fortune and happiness. In the Christian church, red signifies the blood of Christ; as a result, it was adopted by monarchs all over Europe as a sign of their power, and by merchants as an indication of status. And, as everyone knows, red aeroplanes fly much faster than other colours! In Australia, red Foxbats and Vixxens make up about 10% of the fleet.

Orange – was originally considered to be a shade of yellow by the Egyptians and only became the modern ‘orange’ (from the Sanskrit ‘naranga’) in the mid 16th century. Before that, in China and India, the colour took its name from saffron, not the citrus fruit. In many cultures, orange is considered a colour of spiritual transformation. For example, in Buddhism, orange is the colour of illumination, the highest state of perfection. In western civilisations, orange is seen as a combination of red and yellow, signifying creativity, warmth and change. In Australia, orange Foxbats and Vixxens account for just over 10% of the fleet and growing.

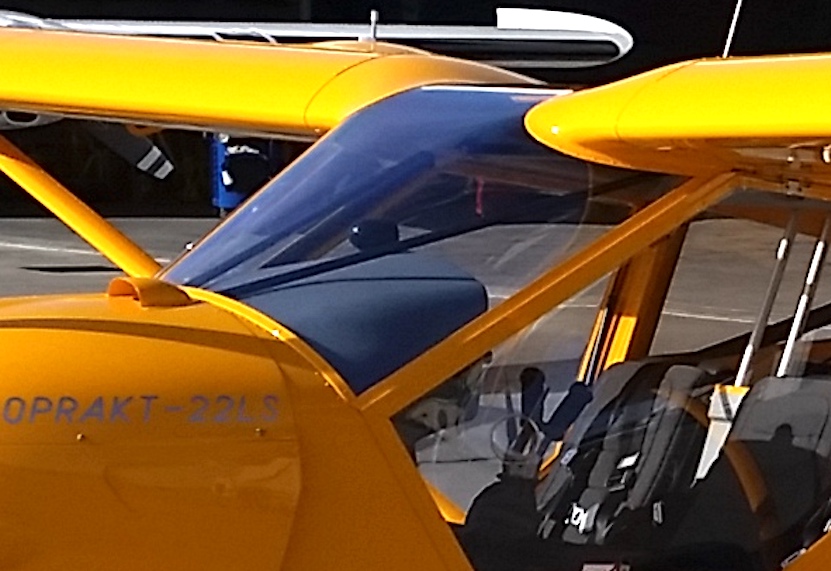
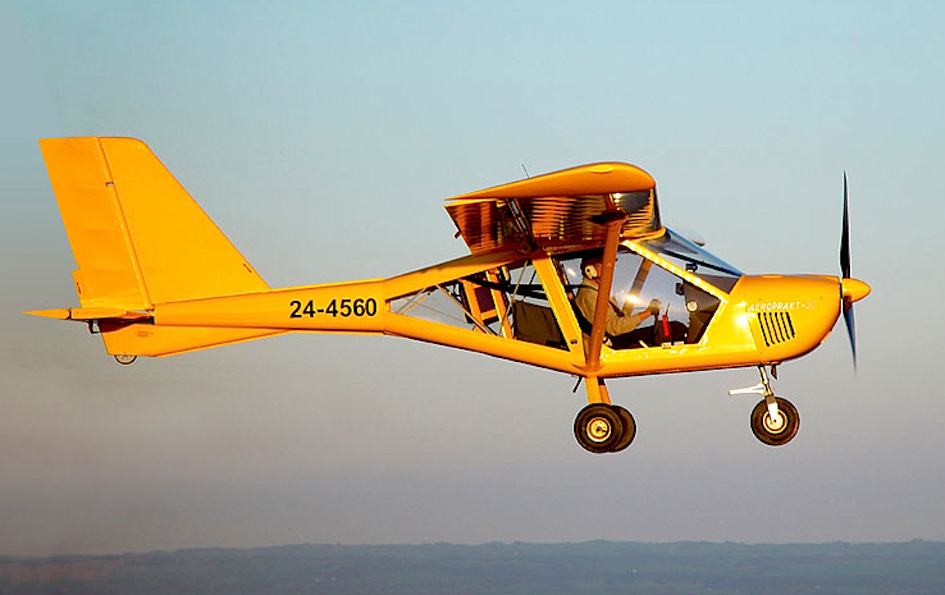
Yellow – in almost all cultures is associated with the sun, with gold recognised as the strongest yellow of all. To the ancient Egyptians, gold represented the flesh of the gods and was thus used extensively to decorate the tombs of the pharaohs. In Greek mythology, the sun-god Helios wore a yellow robe while riding his chariot across the heavens. But yellow also has some conflicts – on the one hand, sunshine, optimism and enlightenment, while on the other, pale yellow has sometimes been used to represent cowardice. But I always think of yellow as the most luminous colour of the spectrum, always attracting the eye to its presence. In Australia, yellow is the most popular colour for Vixxens, and in particular, Foxbats, where it represents over 40% of the fleet.

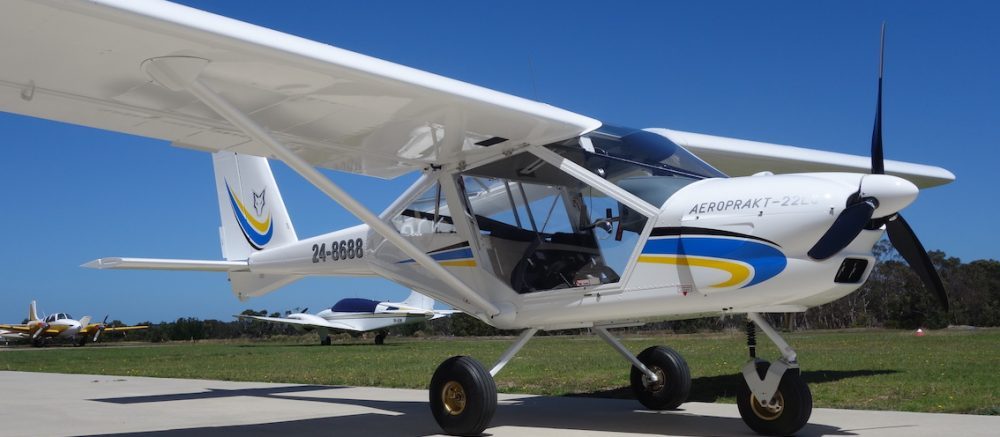
White – lead white, was in continuous production for over 2000 years. This, the purest of whites, is derived from the oxidation of metal lead into flakes of its oxide, hence the common name of ‘flake white’ in many parts of the world. However, this very toxic lead variant of white has now been completely superseded by non-toxic titanium white. There are almost as many different shades of white as there are stars in the sky. Technically, white is not a colour, as it is a combination of all colours. White usually signifies purity, innocence, and integrity and in western cultures it is common for brides to wear white at their wedding. In the majority of cultures, white also means the beginning of life, and in some it is used as a predominant colour for funerals, intended to signify the end of one life and the beginning of the next. In Australia, white is the second most popular colour for Vixxen and Foxbat aircraft, representing almost 35% of the fleet.

The remainder of our fleet is made up of various other colours – green is in a vivid minority of three, with blue-black, mid-grey, grey & white and dark red having one each.

Having given you some insights into the history and meanings of our base aircraft colours, it probably remains that individual choice of colour for a customer’s aircraft is more dependent on how easily they can be seen in the sky and their partner’s colour preferences! So I think yellow and white will remain the main choice of colour for some time to come – although orange is gaining in popularity all the time.

For more information on the history and meanings of colours, have a look at books like Chromatopia and The Story of Colour

Dan Johnson tests the A32 Vixxen

Light aviation’s guru blogger Dan Johnson grabbed the opportunity to test fly the newest FAA LSA-approved aircraft, the Aeroprakt A32 Vixxen.

Click the photo above or here to see the article and accompanying video: Dan flies the A32

You can read more – much much more – about all manner of light sport, recreational and ultralight aircraft on Dan’s blog: ByDanJohnson.

5 easy steps to change your Foxbat oil

Here’s how to change the oil and filter on your Aeroprakt A22LS Foxbat or A32 Vixxen Rotax 912ULS engine:

1. Prepare for your oil change.
Make sure you have the following items ready:

  • A copy of the current Rotax Line Maintenance Manual for your engine. Whatever else follows, you should observe the requirements of this manual!
  • Three litres of suitable oil – we recommend Shell Sport Plus 4 oil as it is compatible with both unleaded and leaded fuel.
  • A Rotax approved replacement oil filter canister.
  • A fresh copper sealing ring for the oil reservoir drain plug.
  • Lock-wire and lock wire pliers.
  • A pair of side-cutters to remove old lock-wire.
  • 18mm spanner and 17mm spanner or socket to remove the oil reservoir drain plug.
  • 16mm spanner or socket to remove the magnetic plug on the side of the engine near the oil filter. NB> Older engines may have either a hex key or torx socket – check yours first!
  • Torque wrench which covers the range 25Nm
  • A suitable oil filter canister removal and replacement tool.
  • Ideally, a cutting tool to open the old oil filter to check for metal residues. If you don’t have one but know a friendly LAME or L2, they might lend you one.
  • A large container or bucket (with at least a 5 litres capacity) to collect the old oil.
  • Some kind of clean funnel to help you refill the reservoir with new oil.
  • Plenty of old rags to mop up spilt oil.

Then thoroughly warm up the engine – ideally go for a couple of circuits or a 20-minute flight – to ensure the oil is hot and fluid. Do not run the engine inside your shed/hangar!

2. Drain the oil and remove the old filter

The following actions should be completed in a timely fashion, to avoid oil draining out of the hydraulic valve lifters and oil lines. Do not drain the oil and leave (eg) overnight before refilling the next day.

  • After warming the engine, remove the top and bottom engine cowlings. Keep the cowling screws in a safe place. Take off the oil reservoir cap and ‘burp’ the engine several times to ensure all the sump oil is transferred to the reservoir.
  • Place an old oil bucket under the reservoir. Cut off and remove the drain plug lock-wire. Holding the captured nut on the reservoir with a 18mm spanner, use a 17mm spanner to loosen the drain plug. Carefully unscrew the drain plug and remove it together with its copper sealing washer. WARNING! The oil is HOT! Be careful not to drop the drain plug into the oil bucket! Allow at least 15 minutes for the oil to drain out. Remove the old copper sealing ring on the plug and replace with a new one – set the drain plug aside ready for reinstallation. DO NOT MOVE THE PROPELLER WHILE THERE IS NO OIL IN THE ENGINE!
  • While you are waiting for the oil to drain, place plenty of rags or a piece of cardboard under the oil filter to stop oil dripping on to the coolant radiator underneath. Loosen and remove the old oil filter. It contains quite a bit of oil, so remove it as quickly as you can to minimise drips etc onto the coolant radiator. Any oil on the radiator will be blown all over the engine bay when you restart the engine, so it’s important to keep it as clean as possible!
  • Cut and remove the lock-wire and unscrew the magnetic plug in the side of the engine just above the oil filter, using a 16mm spanner.

3. Inspections and records

  • Check the magnetic plug for metal accumulation per the Rotax Maintenance Manual. Some build up of metal particles is acceptable, particularly when the engine is new, as the oil lubricates the gearbox as well as the engine itself. See the Rotax manual for details of acceptable and unacceptable amounts of metal residue. Take a photo of the plug with any metal residue attached and date it for future reference in case you need it for comparison.
  • Clean up the plug with a cloth and some clean fuel and replace it – tighten to a torque of 25Nm. DO NOT OVER-TIGHTEN – remember, this is an aluminium crank case and the steel plug can damage the threads if you use too much brute force. Lock-wire the plug, making sure you replace this correctly so that the plug is held tight in the correct sense and cannot come loose!
  • Cut open the filter canister with a suitable tool and extend the paper oil filter on the bench to its full length. Carefully inspect the filter paper on both sides to identify any excessive metal residues. Check the Rotax manual for details of what is acceptable. Ideally, fold up the filter paper and keep it in a sealed and flight time/dated plastic bag in case you need it for reference at some later date.

4. Refill with new oil and install a new filter


  • Clean the oil filter contact face on the engine and install the new oil filter canister per Rotax instructions. Smear some fresh engine oil on the rubber washer/seal in the new filter and screw it back in place by hand. After tightening by hand as much as you can, further tighten the filter by rotating about 270 degrees (¾ of a turn). DO NOT OVER-TIGHTEN! Wipe away any oil spills around the bottom of the filter.
    Some people like to dab a drop of coloured paint (nail varnish is excellent for this) on the oil filter and housing so you can see at a glance if it has started to unscrew.
  • Clean the area around the oil reservoir drain and re-install the drain plug with its new copper sealer/washer. Hold the captive nut on the reservoir with a spanner and use a  torque wrench to tighten the drain plug to 25Nm. Re-lock-wire the drain plug in place. Make sure you do this correctly so that the plug is held tight in the correct sense and cannot come loose!
  • Fill the oil reservoir with 3 litres of fresh oil. Ensure the ignition is switched off and hand-crank the engine about 20 turns of the propeller (in the correct sense, never backwards!) to help refill the complete oil system. Make sure you replace the oil reservoir cap!

5. Finishing up

  • Remove and/or put away/dispose of all the old oil, filter, tools etc. Don’t replace the engine cowlings yet.
  • Pull the aircraft out of the hangar and ensure it’s well away from anything loose that might get sucked into the prop.
  • Get in and start the engine. Watch the oil pressure gauge to ensure the oil pressure is rising within 10-20 seconds. If not, shut down. Check there is oil in the reservoir. Ensure all switches including ignition, are OFF and, using the propeller blades, hand-crank the engine for 5-10 rotations of the propeller. Restart the engine and adjust to around 2300-2500 rpm.
  • If the pressure still does not rise within 10-20 seconds, shut down and carry out a full check of the oil system to ensure there are no loose hoses and that you did actually refill the oil reservoir!
  • If the pressure rises OK, run the engine for about 15 minutes at various rpm until it is well warmed through. Shut down and check for oil leaks – particularly round the oil filter, magnetic plug and reservoir drain plug.
  • If all is OK, replace the engine cowlings and you’re ready for the next flight!

Why LSAs crash so much

I have long held a view that Light Sport Aircraft (LSAs) are not, as many people seem to think, just less expensive ‘mini’ GA aircraft.

For a start, they are built to much tighter weight tolerances than typical GA aircraft and thus need careful maintenance to ensure that they remain airworthy. Don’t get me wrong – a correctly maintained LSA can have a life span of many many years – but alas, in Australia, quite a few LSAs are quite legally owner-maintained by people who do not really have the skills, experience or knowledge to do so….but that’s another rant.

More importantly, LSAs have quite different flight handling characteristics from typical GA aircraft. This starts with taxiing, where dyed-in-the-wool GA jocks often describe them as ‘squirrely’, through to take-off performance: what typical school GA trainer will take off in 4-5 seconds after applying power, as many LSAs will? In the cruise, the light wing loading of most LSAs (remember, the regulation requires a stall speed limit of 42 knots ‘clean’) is more susceptible to turbulence – although the great upside of most LSAs is that they are a lot more responsive (to some, ‘fun’) on the controls.

This responsiveness, however, can potentially cause problems when it comes to the approach and landing phase of flight. For a start, approach and landing speeds of most LSAs are around 50 knots or even slower, a speed which feels dangerous to many GA pilots. Come in faster and you’ll likely over-control, and/or float or balloon the aircraft, with potentially disastrous consequences.

To further expand our thinking, Paul Bertorelli of AVweb has made a great little video on the subject of accidents in LSAs, which you can view by clicking on the picture above or here: Why Light Sport Airplanes suffer so many crashes

Most of Paul’s statistics refer to the USA market but all of his comments apply to LSAs the world over. Enjoy the video!

A22LS Foxbat Rudder Cables

Back in April 2018 I published an item covering the issue of an Aeroprakt Safety Alert concerning inspections and possible replacement of the rudder cables on A22LS aircraft. You can read the article by clicking here: Rudder Cable Safety Alert or the Bulletin itself here: Aeroprakt SB A22LS-17

Following the issue of the Alert, we submitted a pair of the broken cables and a length of new cable to the ATSB for testing and examination. You can view a copy of their report by clicking here: ATSB Report Rudder Cable Analysis Results

The ATSB Report reaches the following conclusions:

  • The primary cause of the RH cable fracture was fatigue, resulting in overstress of the remaining wires.
  • The LH cable was unserviceable (based on manufacturer requirements) due to deformation and wire fractures that were already apparent.
  • The cables and pulleys provided to the ATSB were compliant with the manufacturer’s specifications (pending chemical analysis results).
  • Most of the fatigue would have occurred prior to the accident flight, and it is likely that some would have been present at the last 200-hourly cable inspection (1600 hours).
  • Fatigue in both cables may have been accelerated by the cable running around a smaller diameter pulley than is recommended.

In Summary – please ensure your rudder cables are correctly inspected every 200 hours per the Safety Alert and Maintenance Manual. This does NOT mean a quick glance and a ‘twang’ of the cables behind the seats! At any sign of wear or broken cable strands,  both rudder cables must be replaced.

Finally, please note that the incident aircraft was registered 24-7930 – not, as erroneously stated in the report, 24-7390.

Cleaning A22 Foxbat and A32 Vixxen windscreens

Over the last couple of years, we have received reports of broken windscreens on a very small number of Aeroprakt aircraft in Australia. A couple of these were definitely due to bird strikes. However, the cause of a couple of others has never been finally agreed.

The factory reports a very limited number of screen failures in the rest of the world – I believe two or three more – in addition to those reported in Australia. This is out of a total world fleet of over 1,100 aircraft spanning 22 years of production.

In an effort to establish potential causes, and thus introduce preventative measures, we have agreed to publish as much information as possible and seek owner responses where appropriate.

First of all, the factory wants to emphasise the following points:
1. The windscreen design and material have proven themselves on hundreds of Aeroprakt airplanes. Screen collapse cases are extremely rare and have never been associated with the design, but usually pre-existing cracks.
2. Current windscreens are made not of polycarbonate plastic but of PET (Polyethylene terephthalate), so any ‘polycarbonate approved’ cleaner may not be suitable for PET.
3. The effect of unsuitable cleaners (including gasoline, Windex®, Mr Sheen®, solvents which may be suitable for acrylic screens or any other non-PET approved solvents) on the structural properties is such that the PET glass may become brittle (crack-prone) in stressed areas (although in non-stressed areas it has no such effect).
4. The factory does not make oversize rivet holes in the glass because it makes no sense as the rivets compress – that is, produce stress in – the glass anyway.
5. All-aluminium rivets are used to secure the windscreens. This means every part of the rivet is aluminium – including the shaft, which is not steel, as per regular ‘pop’ rivets.
6. The recommended sealant for PET and polycarbonate windscreen replacement is now an acrylic transparent sealer such as FulaSeal 701, not a silicone sealer, which should be used sparingly. Excessive use of sealer can potentially weaken the screen.
7. Finally, a thicker glass is not a good solution as it will be under even higher stress in the areas where it is formed to the required shape. Therefore it will be even more prone to cracking.

In the past, based on local engineers advice, it has been Foxbat Australia’s understanding that the windscreens of A22 and A32 aircraft were polycarbonate sheet and as part of our new owner pack, we have included a canister of proprietary polycarbonate screen cleaner. We have also in good faith recommended these cleaners to existing owners. None of these products expressly forbids their use on PET, nor can we find any information regarding their suitability for PET – indeed, they all make generic statements like ‘suitable for cleaning all plastics’.

However, at the present time, we strongly recommend that owners/pilots of Aeroprakt aircraft stop using these types of cleaner on their windscreens until such time as their manufacturers confirm without reservation and in writing that they are suitable for PET.

So how should you clean your Foxbat/Kelpie or Vixxen windscreen?
1. We recommend cleaning PET (or polycarbonate) plastics first with a mild solution of soap or detergent and warm water. It is also possible safely to use a specialty cleaning product such as Novus® No.1 or Brillianize.
2. DO NOT use window cleaning fluids with ammonia (such as Windex®, or Formula 409®), Mr Sheen®, gasoline, denatured alcohol, carbon tetrachloride, or acetone, which will cause the plastics to craze with minute cracks.
3. DO NOT use so-called ‘aviation approved’ screen cleaners as these may have been formulated for cleaning other types of plastics.
4. Begin by gently blowing away any loose dust, dirt and dead bugs from the surface. DO NOT use a pressure washer on any part of the aircraft, including the screen.
5. DO NOT use proprietary chemicals (such as ‘Bug Off’) to soften and remove dead bugs from the screen. Simply spray a weak solution of soap and water on the screen and let it soak for 5-10 minutes, re-spraying if needed to keep the surface wet. Then wipe with a wet non-abrasive/non-contaminating/lint-free soft cloth, microfibre cloth, or cellulose sponge. Rinse well with plenty of clean, clear water. You may need to repeat this process a couple of times to remove all dried-on dead bugs.
6. To give a final clean to the screen, apply the specialty cleaning product (or a weak soap and water solution) with a dampened non-abrasive/non-contaminating/lint-free soft cloth, microfibre cloth, or cellulose sponge.
7. Rinse well with plenty of clean, clear water.
8. Pat dry with a chamois leather, damp cellulose sponge, or microfibre cloth to prevent water spotting.
9. Repeat this process regularly to ensure there is no build up of dirt on the windscreen. If possible, clean a dirty screen immediately after flight to stop dirt etc hardening during the time before you next fly.

Thank you for your attention – please leave a comment below if you feel it’s appropriate.


Light Sport Aircraft Maintenance

It is my belief that today’s recreational and light sport aircraft need more careful and meticulous maintenance than traditional ‘rag & tube’ ultralights and typical single engined GA aircraft.

Over the last 15-20 years or so, recreational and light sport aircraft have become much more GA-like in their looks and construction, compared with traditional utralights of old.

Their weight and complexity has increased almost beyond the imagination of early ultralight owners; their airframes have become more and more GA-like, with concealed control systems, engine bay ducting which hides many key engine components, digital instrumentation, auto-pilots and the like. Yet recreational aircraft owners and pilots are still permitted to ‘do all their own maintenance’*.

Crucially, recreational and light sport aircraft have to be designed and built to fit under a specific gross weight limit. There is also a maximum empty weight formula related to the maximum gross, which effectively limits the empty weight of a 2-seat aircraft to around half that of a typical 2-seat GA aircraft. As a result, manufacturers have to do everything they can to minimise empty weight – usually by using light weight materials and making components as strong as they need to be, but no stronger.

This lightweight approach is not in itself an issue – indeed it has enabled the design and manufacture of some wonderful aircraft. But in reality, ‘cheaper and lighter’ means you have to be much more thorough with your inspections and maintenance.

Why?

Because the metal is thinner all round; because so-called ‘carbon fibre’ aircraft actually contain very little carbon fibre (if they really were mainly carbon fibre, their cost would be astronomical); because cables are thinner, because engines are smaller/lighter/more highly stressed, because propellers are typically composite not metal; landing gear is lighter; bearings are smaller, tolerances are tighter; and because some of their systems are quite different from typical GA aircraft, and on and on…

Although RAAus is working wonders to improve the safety of aircraft registered with them – particularly focussing on maintenance issues and authorisations to maintain*, I still have considerable doubts as to the maintenance capabilities of many RAAus Aircraft owners, who likely have little or no aircraft maintenance knowledge and experience. I myself know the A22 and A32 airframes inside out but I do not feel at all confident I could safely maintain one.

For example do these owners know:
– how properly to lockwire a bolt, and what thickness and type of wire is required?
– how to measure and adjust the tension of a control or structural cable?
– how and when to use a torque wrench correctly?
– the standard torque settings for each size of bolt?
– how and when to check static and dynamic carburettor balance?
– how to check the friction on the Rotax gearbox clutch?
– how to make sure the ends of a cable are still securely swaged?
– how to measure correctly the strength of the fabric covering on a wing?
– how to open and examine properly an oil filter after an oil change, and what to look for?
– how to check a control or structural cable for internal abrasion and wear?
– how and where to look for cracks in metal/composite/wooden airframes?
– where to place a jack to raise their aircraft?
– how to decide when to replace an ‘on condition’ item?
– what constitutes ‘acceptable’ and ‘unacceptable’ wear in an item?

Not to mention possession of all the tools needed to do these jobs properly?

Now, I’m aware of many aircraft in our Aeroprakt fleet with well over 3000 hours on them – with no particular problems. As I say, maintained properly, recreational and light sport aircraft can continue flying safely for many thousands of hours.

But if you are going to maintain your own aircraft, get proper training to do so – if you skimp on maintenance or try to save money by doing it yourself when you don’t really have the capability, at the very least your aeroplane won’t last as long as it should. And at worst, it will be your life (or that of the pilot) that’s threatened.

* Owners of RAAus registered aircraft may maintain their own aircraft provided they have an L1 Maintenance Authority (sometimes called an ‘Owner-Maintainer’ authorisation). Details of this are available on the RA Australia website at www.raa.asn.au  under the member section ‘Member Training’

A22L Foxbat gross weight increase

I have good news for all Australian owners of A22L (450 kilo MTOW limit) Foxbats!

With the new RAAus MARAP system (Modification and Repair Approval Process), a review to increase the gross weight limit (sometimes called the maximum take-off weight (MTOW)) of RAAUS  registered Aeroprakt A22L Foxbat aircraft from 450 kilograms (472.5 kilograms if a ballistic rescue system is fitted) to 525 kilograms has been conducted and now approved.

During the review of the A22L for an increase up to the 525 kilograms  MTOW there is a small ‘G’ limit penalty: the maximum limits are reduced from +4G and -2G to +3.6G and -1.8G respectively. In effect, this means you need to observe manoeuvring and rough air limits closely to ensure you do not exceed these lower limits.

No structural or other changes are required to the aircraft.

To obtain the increased weight limit on your A22L aircraft, please contact the technical team at RAAus – phone number 02 6280 4700 or email to tech@raa.asn.au – and request the necessary documentation. This includes a supplementary page for your pilot manual and an entry to the manual revisions page.

RAAus will make a charge for this service but I’m sure you’ll find the extra – legal – 75 kilograms well worth it!

Please note, this increase is not relevant to the Aeroprakt A22LS Foxbat, which already has a gross weight limit of 600 kilos and ‘G’ limits of +4 -2