 Landing an aeroplane is potentially one of the trickiest aspects of flying and, if you get it right, one of the most rewarding. However, most of us learn to land through repetition and experience – I wonder how many countless ‘circuits and bumps’ I have done in my life, practising landings in all kinds of wind and weather… and still I get the occasional one wrong and end up going around.
What if you could land an aeroplane every time, right on the spot you picked? And had a process you could use which works on any type of aircraft?
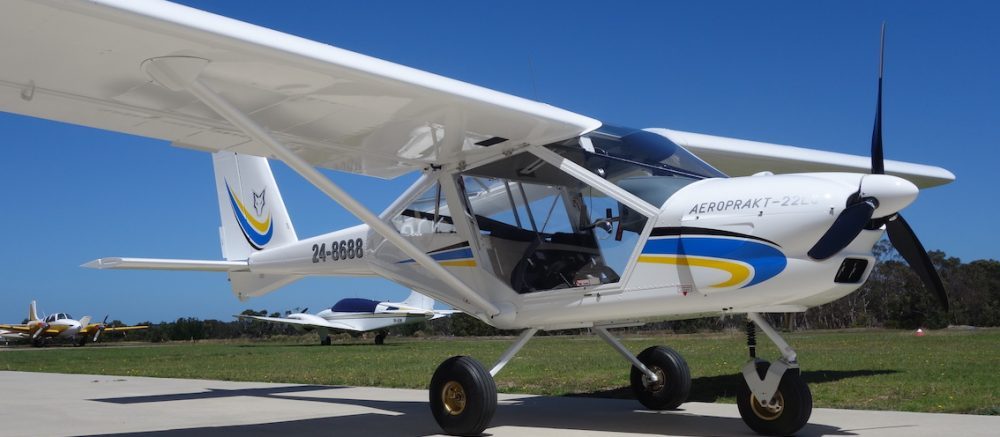
 Enter David Jacobson – discoverer/designer/inventor of the ‘Jacobson Flare‘* – a way to land an aircraft, based on simple mathematics. I first met David a few months ago when we were both making aviation related presentations at Box Hill Institute near Melbourne. And I must confess, not being much of a mathematician, I just could not follow David’s logic. All his references to angles and aim points left my head spinning and, because most of what he said seemed to be directed at pilots of passenger jets, I (wrongly) assumed it had no application to something as small and simple as an A22LS Foxbat. After his presentation, David asked me what I thought about his approach(!) to landing and I told him I hadn’t a clue.
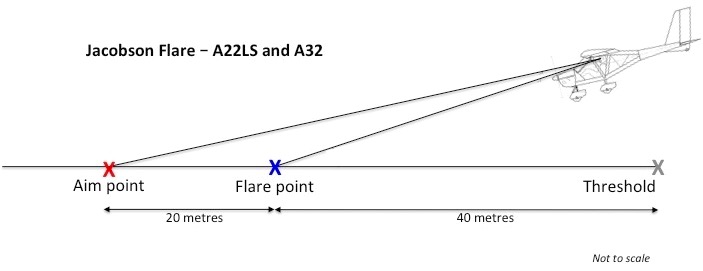
Roll on a couple of months and David was kind enough to pay a visit to Foxbat Central at Tyabb Airport and take us – me and my Foxbat colleague Ido Segev, and friends Mike Rudd and Ross Porz – through the theory and practice of his Jacobson Flare. As it turns out, the Jacobson Flare is much simpler than I thought, consisting of (a) determining an aim point along the runway (based on approach angle, aircraft size/type etc), and (b) determining a flare point by coming back towards the threshold a further, aircraft based, distance. Although the maths behind it can seem incomprehensible (at least to me) the end result is very straightforward. I had already taken the precaution of loading David’s app on my iPad, and with a very short introduction, I was soon calculating aim points and flare points for all kinds of aircraft, including the A22LS Foxbat and A32 Vixxen – the process will work for anything from an A380 to a sailplane!
Before we go any further, on David’s advice, I have to slaughter one of aviation’s most sacred cows – that on approach to land, you control descent with throttle and speed with elevator – if you want to slow your descent, add throttle; if you want to add speed, push the nose down. This was drummed into me right from the start (is it was for David too, initially) and, generally speaking, it is an approach I have used all my life. David firmly believes this is complete rubbish on modern aircraft because it’s utilising the secondary effects of the controls. He unequivocally states you should use elevator to hold the aircraft pointing at your aim point and use the throttle to keep the speed in the required zone – thus utilising the primary effects of the controls. Once you get the old height/throttle – speed/elevator combo out of your mind (no easy task), the rest quickly falls into place. Indeed, this is how an ILS approach is flown and has been the mainstay of civil and military aircraft for decades.
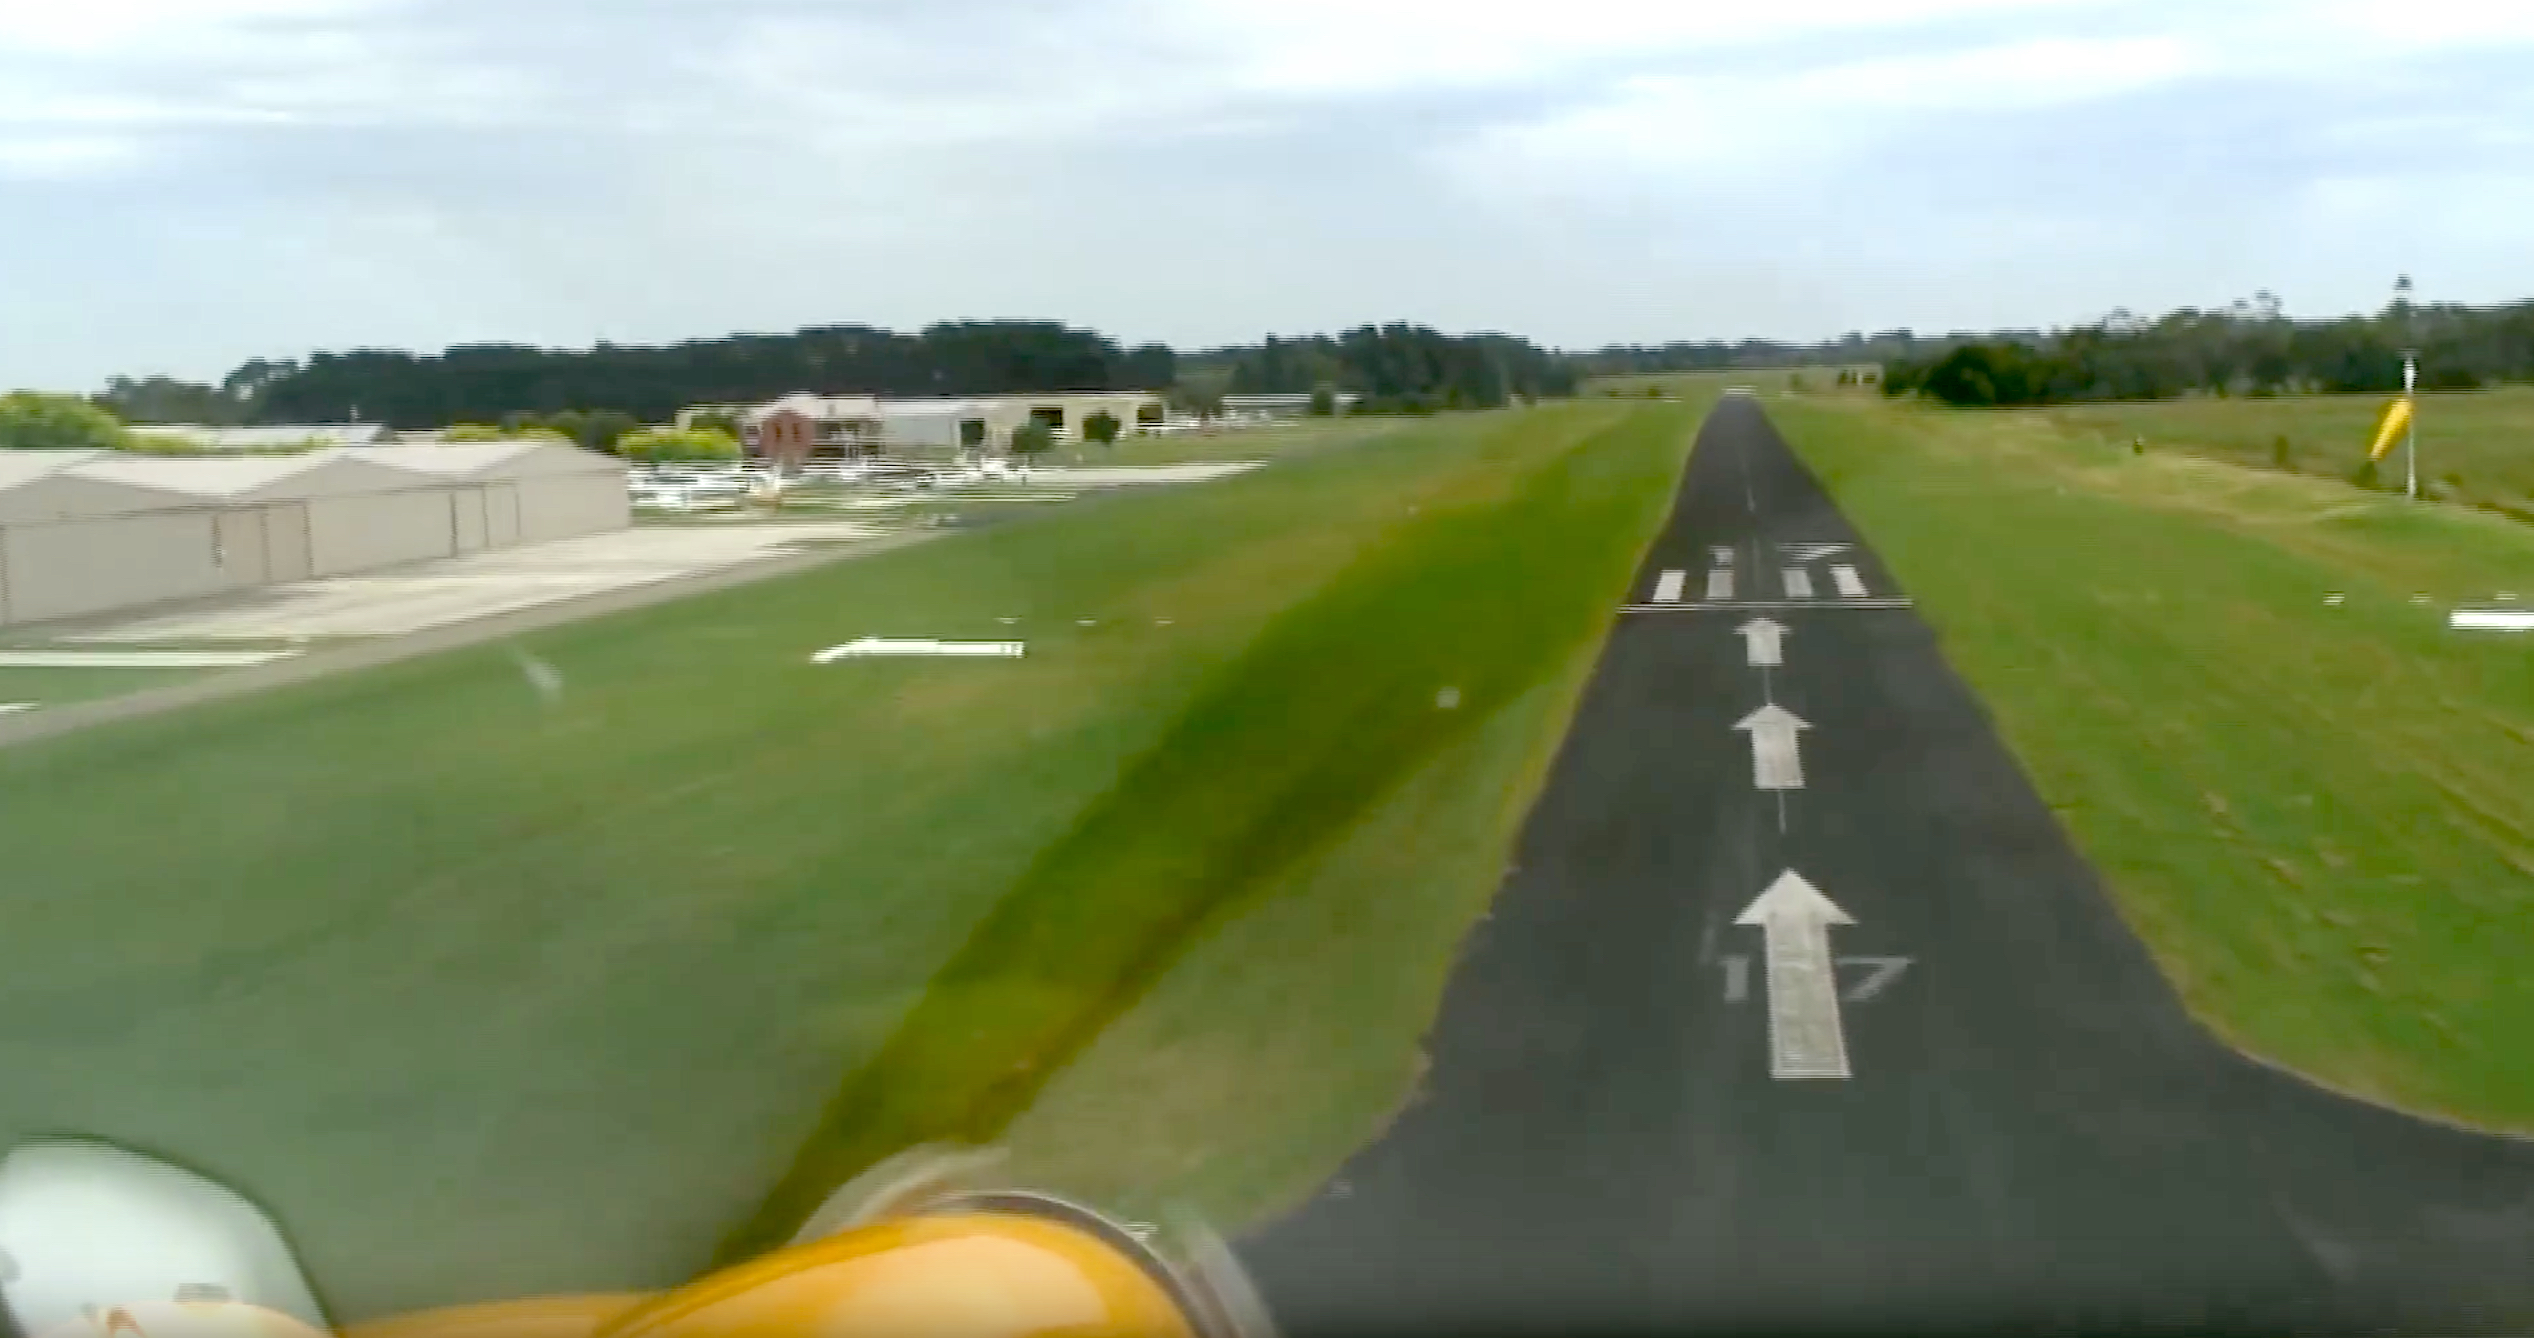
Next, many bitumen runways have ready-made length markers painted on the runway. At most major airports (but certainly not all) the ‘keys’ are 100 feet long (about 30 metres) and the centre lines are each 100 feet long, with 100 foot spaces in between them. In these cases, it’s easy to calculate lengths along the runway from the threshold.
Here in simple terms are the distance points for the A22LS Foxbat and A32 Vixxen (there are slight differences between them but small enough to ignore at this stage). These figures assume a main wheels height of about 10 feet above the ground at the runway threshold and the pilot’s eye height above the wheels of between 4.5 and 5 feet:
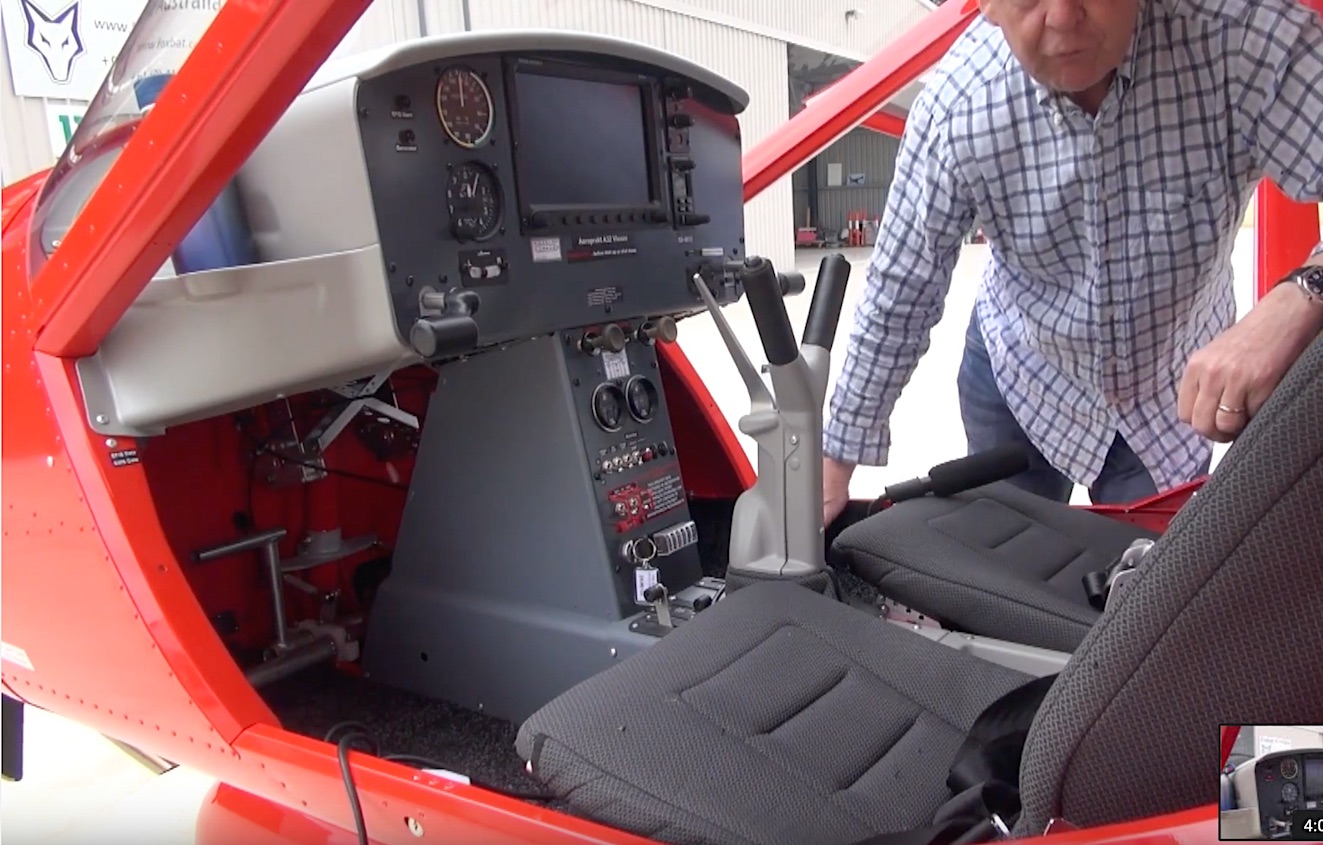
1. Work out where in the aircraft windscreen the horizon line lies in straight & level flight. This is the height of the pilot’s eyes above the glare shield where it meets the windscreen. Either make a clear mental picture, or find some, non-permanent, way of marking the line on the windscreen. Tip: get a thin strip of white sticky tape and lay it on top of the instrument binnacle so it reflects in the windscreen, move the tape backwards or forwards until it coincides with the horizon in straight & level flight. Another way is to use white tape to mark one or both of the diagonal struts inside the A22LS windscreen. This line becomes your main reference marker for your initial aim point.
2. On final approach, line up your reference marker with an aim point about 60 metres down the runway from the threshold. Using elevator, keep the reference mark lined up with this aim point. Maintain 50 knots with throttle. Note: this is just your aim point, it is also the point of intended touchdown.
3. Determine a flare point about 20 metres closer to you than your aim point – ie about 40 metres down the runway from the threshold. Together with the pilot’s line of sight towards the aim point, the flare point creates a visual fix. In other words, the flare point is visible, rather than being a guess of height. When this point disappears from your sight below the glare shield, reduce power to idle if needed and begin a 4-second flare to land. An easy way to do this is to raise your eyes from the windscreen/instrument panel joint towards the far end of the runway and gently pull back on the elevator as you do so, mentally counting 1001 – 1002 – 1003 – 1004. The wheels should touch down on the count of 1004 about 60-100 metres from the runway threshold at a speed of about 35-40 knots. Hold off the nose wheel as long as possible and gently brake to walking pace before exiting the runway.
There are a few provisos:
– these figures only apply to A22LS and A32 Vixxen aircraft. Different aircraft will have different aim point and flare distances!
– if the runway has painted lines, be sure you know how long they are before using them for your calculations! For example, at Tyabb the distance between the start of the keys and the top of the runway heading numbers is 100 feet – about 30 metres.
– if there are no distance markers on the runway – for example if it’s a grass or dirt strip – you’re going to have to estimate aim and flare points based on experience. If it’s your own strip, you can white-paint rocks or other solid objects and place them to each side of the runway at the measured distances.
– it doesn’t matter whether you use flap or not, using this process the aim and flare distance points are the same.
– the distances in 1-3 above assume a 4 degree approach angle and no obstructions at the approach end of the runway. A sharper angle of approach will reduce the figures.
– this system applies to landings on runways which are level r have an up or down slope; if you can follow the maths, the aim and flare points remain the same.
– distances will change if you want to achieve a very short landing or want to 3-point a tail dragger.
– crosswind landings are easily accommodated.
– runway width is no longer a distracting factor, as you are not just relying on a guess of flare height.
We don’t currently have a Foxbat or Vixxen demonstrator, so I have only been able to try this system on a Glasair Sportsman. In three landings it was starting to work OK – even though the aircraft is a taildragger, so it has somewhat different distances from the Foxbat for aim and flare points. Hopefully, we will be able to try it on an A22 and/or A32 soon and will report back.
Meanwhile, if you own a Foxbat or Vixxen, give it a try – I’d be very interested to hear/read your feedback.
*The Jacobson Flare has been demonstrated, since 1985, to work well on a wide range of aircraft. Full details can be found in the Jacobson Flare App in App stores. Many thanks to David for his patience in talking to the mathematically unwashed! For more information, click here to see the Jacobson Flare website.
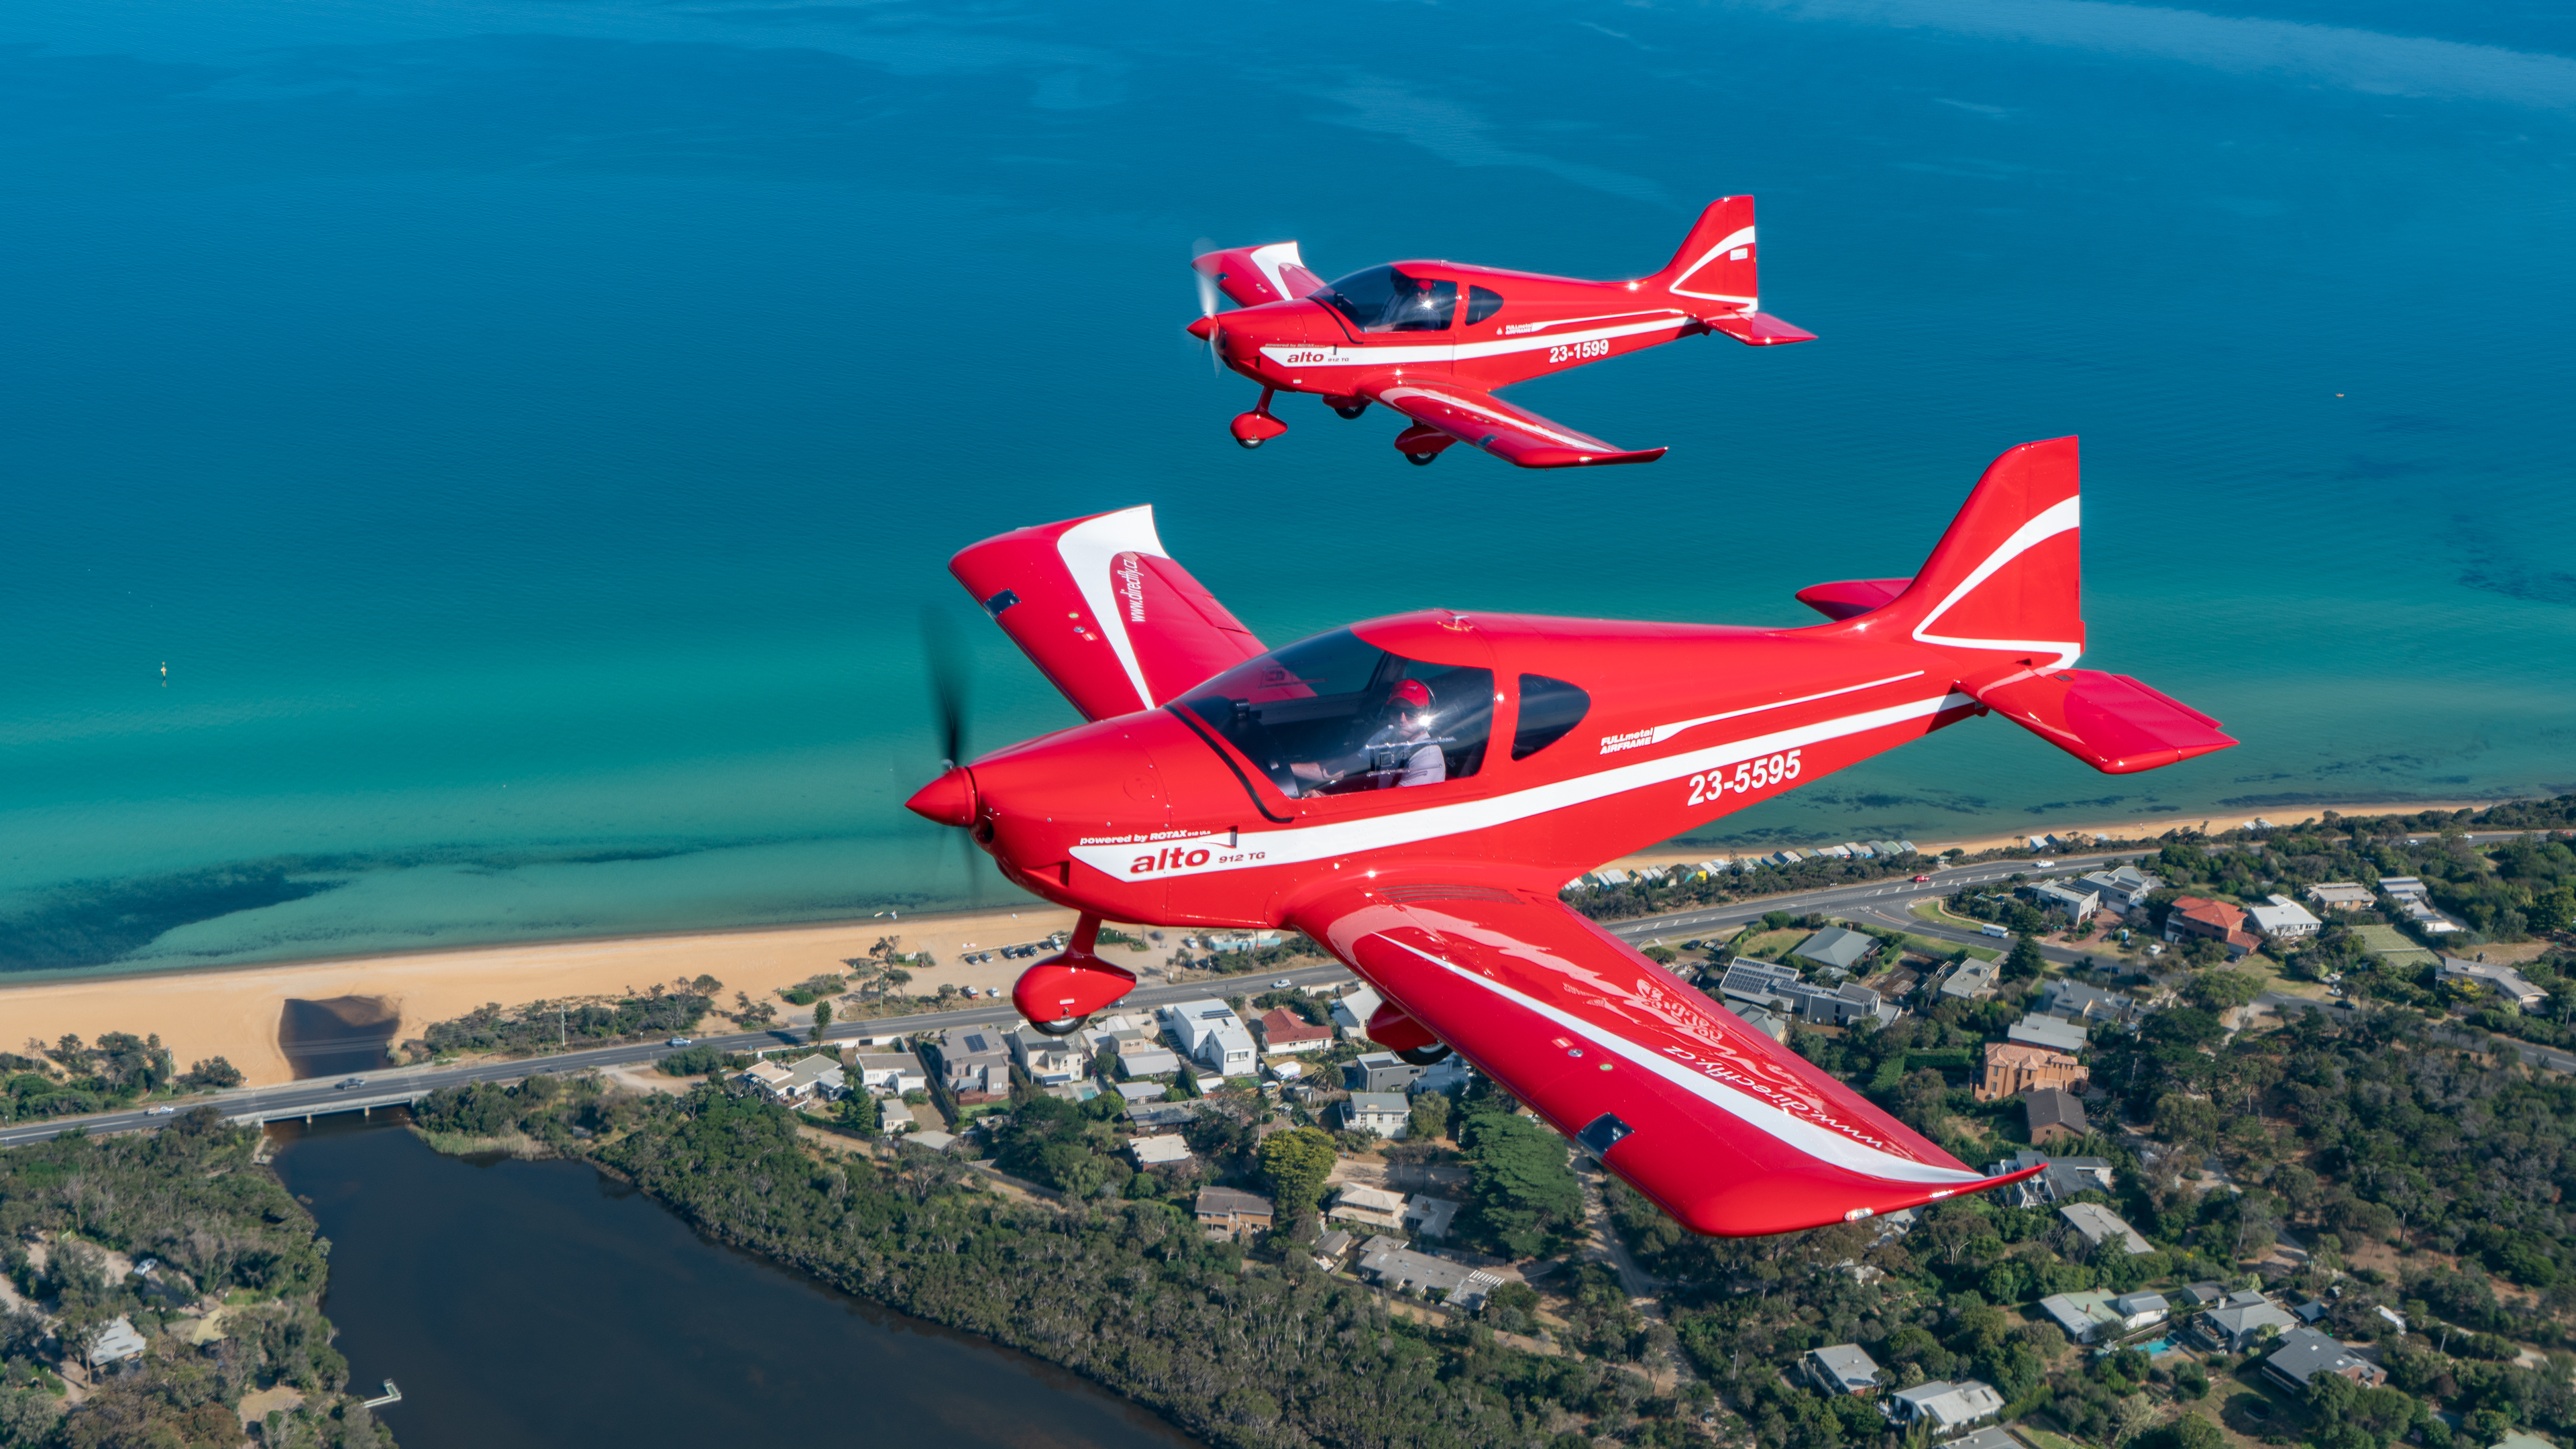 Monday 16 December 2019 dawned clear and cool – with a forecast of a hot and sunny, 35+ degrees celsius (that’s 95+ degrees Fahrenheit in old money), later in the day. Just after 07.00, my colleague Ido Segev and I collected two Ferrari-red Alto aircraft from Moorabbin Airport and flew them to our home base at Tyabb Airport (home of the Peninsula Aero Club), about 15-20 minutes flying time to the south. The air was ‘smooth as’ as they say and the brand new Alto I was flying purred along at an indicated 110 knots. Just behind me in our Alto demonstrator, Ido was enjoying the silky smooth air too.
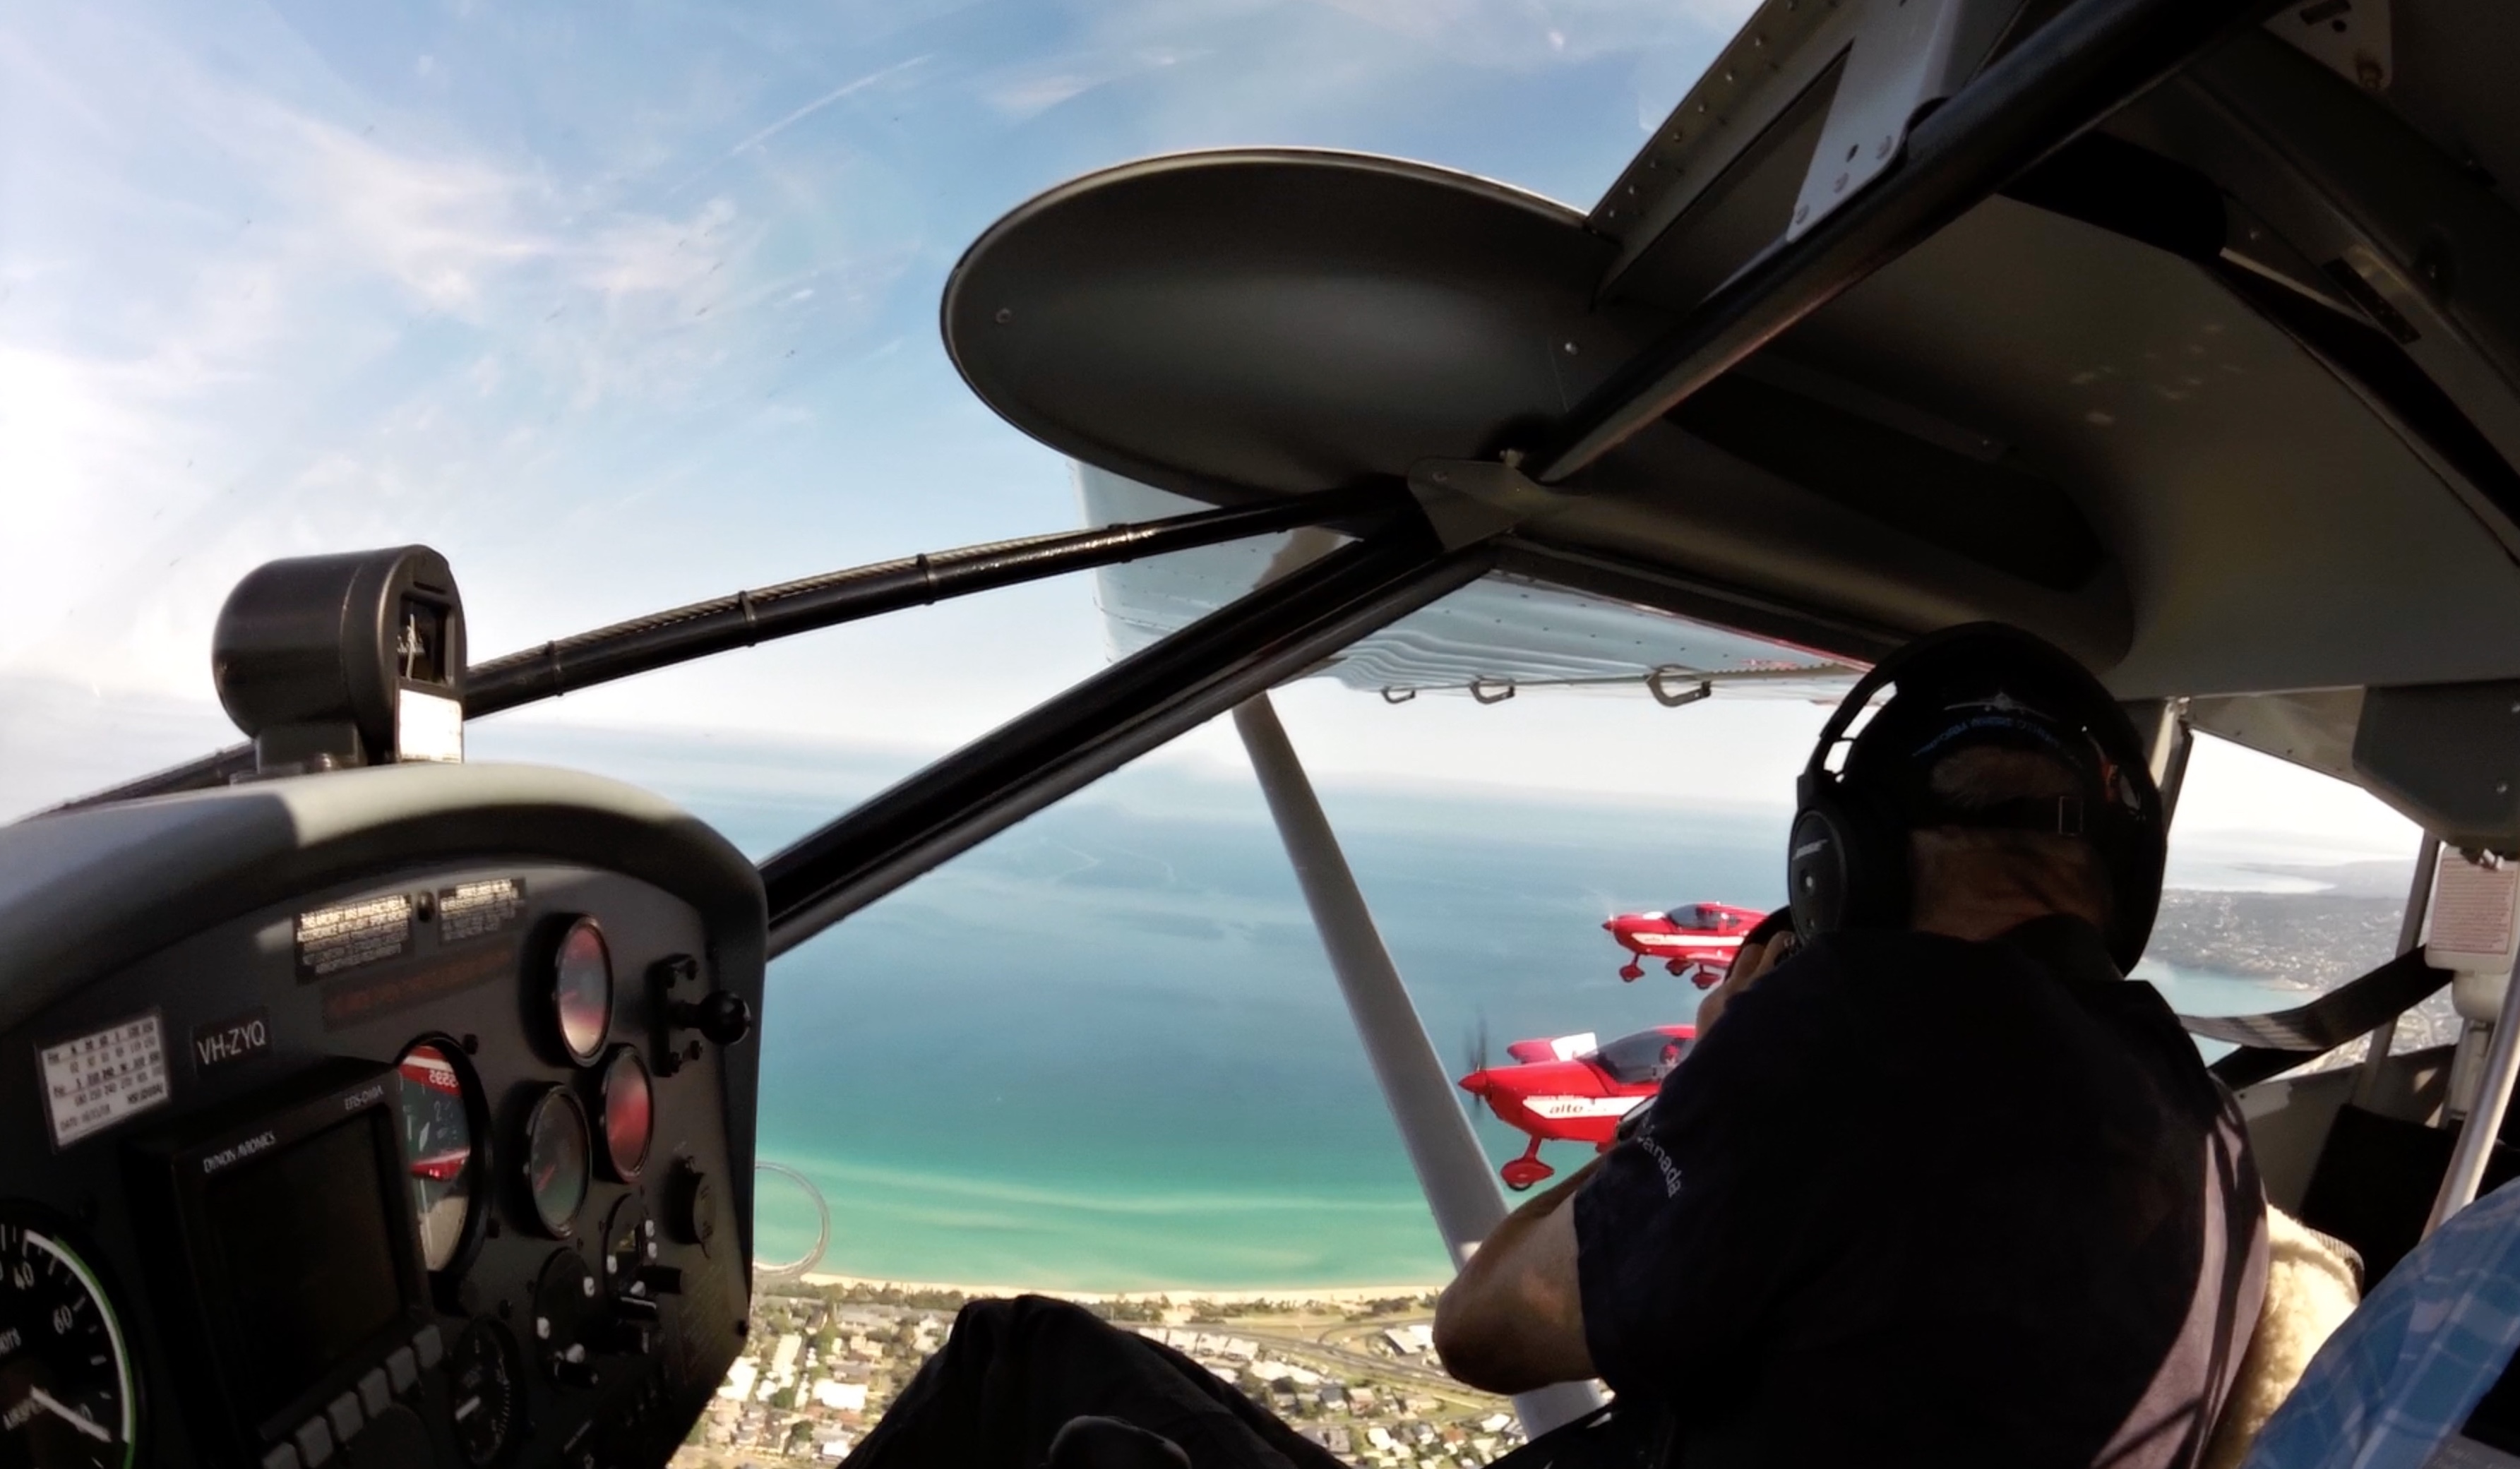 We started off flying big circles, with maximum bank of about 15 degrees, to capture the sun and shadows from all angles. First, a right turn with Devilbend Reservoir and the ground as background and then left with the sky as background. Finally, we ran south along the beach area near Mornington, on the peninsula. There were a few bumps developing on the south lee side of the hill at Mount Martha, so we climbed to 2,000 feet, tracked in a big loop back to the north and tried the beach again. We also got some good pictures over Martha Cove Marina.
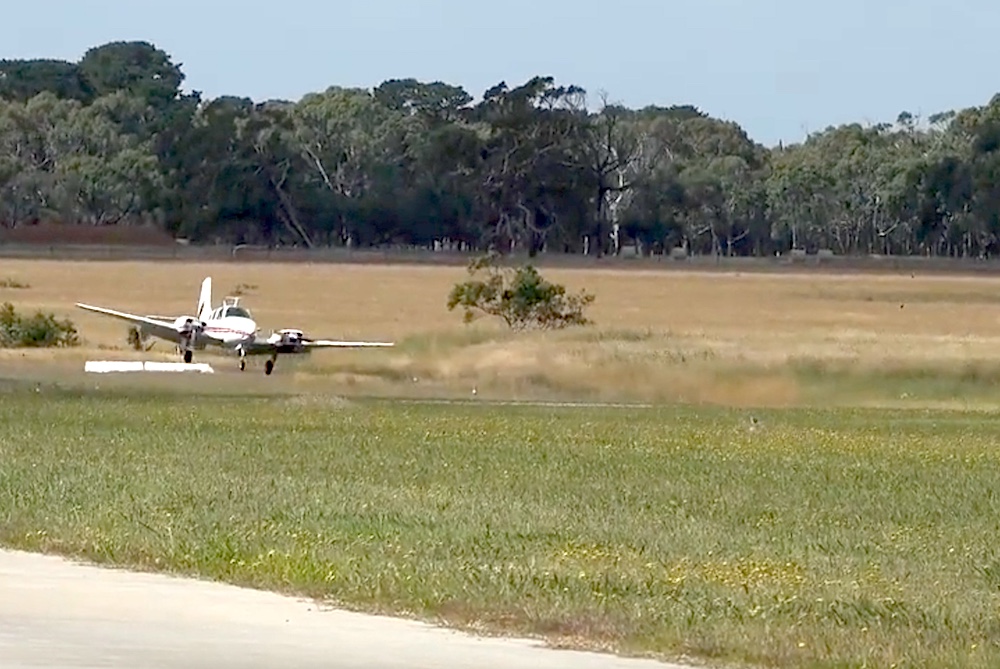


